Monthly Archives: April 2012

Easter Egg Dying

Standard

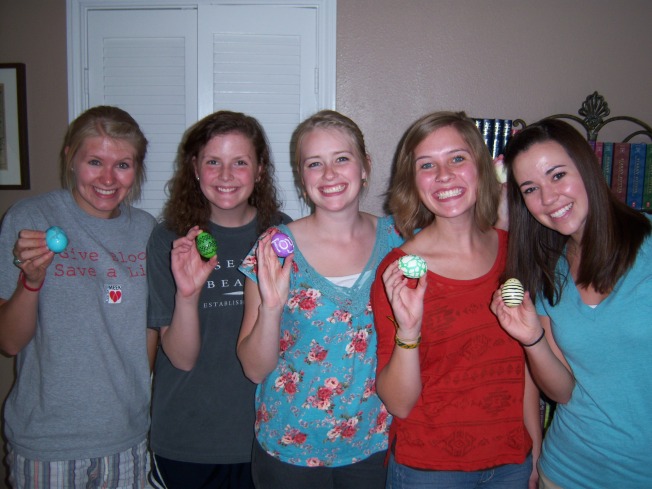
This Easter, my younger sister and some of her college friends came to town and dyed Easter eggs together (along with many other fun activities)!!! I was impressed with our creativity and thought I’d give you my 5 favorite dying techniques that we used.

1. Permanent Marker

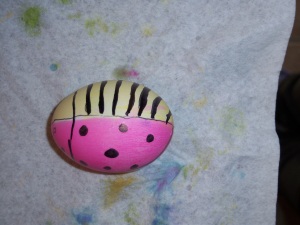
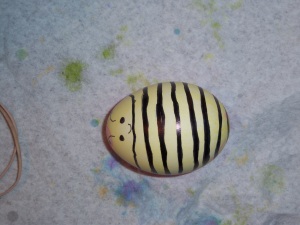
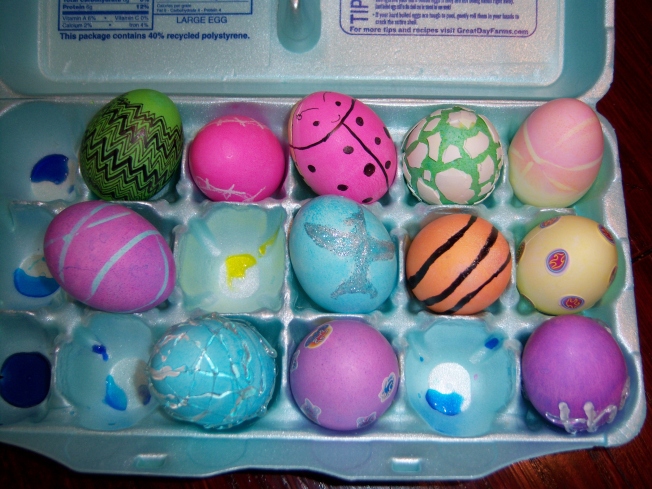
For this, all you need is a sharpie and some creativity!! We had a basketball created, some awesome zigzag pattern, and a cute ladybug/bee egg. You can use the sharpie to draw on it, then dye it as you like. The dye won’t do anything to the marker. Here are our permanent marker eggs:


2. Glitter Glue

For this, dye your egg first. Once dry, you can decorate with a glitter glue pen. My dear friend decided to do a mockingjay in honor of the hunger games :) Here it is:


3. Rubber Bands

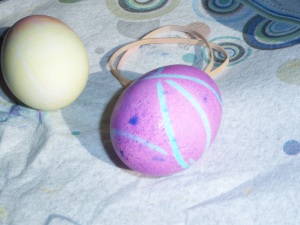
You can do so many things with rubber bands. But the key is get the rubber bands tight!! On mine, I put them on while the egg was still white, then dyed it, creating white stripes. Another method is to dye the egg one color, let dry, add rubber bands, then dye a different color. This creates colored stripes.


4. Mosaic Egg

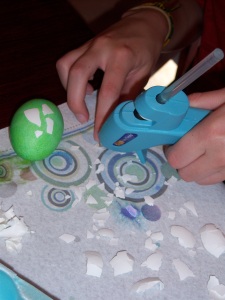
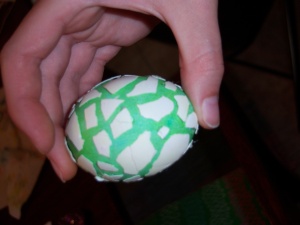
To do this, you need two hard boiled eggs. First, break one egg’s shell into pieces (not too small or it will be more difficult). You can either dye this egg before you break it up or not depending on what color you want your mosaic pieces. Then dye the second egg whatever color you want to be the background.  Once dry, take the second whole egg and hot glue the pieces onto the shell, creating a mosaic look.


5. Hot Glue

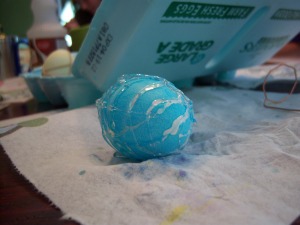
You can decorate your egg with a hot glue gun!!! Simply take your hard boiled egg and draw or write what you want on your egg with hot glue, then dye! The dye won’t seep through the hot glue, creating a cool look!  I wrote “The Toys” on mine :) and Palmer did a cool bird nest design.Just make sure that the glue is secure on the shell and can’t be easily pulled off, otherwise the dye will go under it (which you can see on the second egg).


Happy Easter!! May you find the hope, joy, and peace that comes with the knowledge that death could not hold our Savior.
King Raven Triology- The Story of Robin Hood

Standard

King Raven Trilogy by Stephen Lawhead

  • Hood
  • Scarlet
  • Tuck

Genre– historical fiction/fantasy

Age Recommendation– 12+

Summary– The story of Robin Hood, set in the woods of Wales, comes to life in a whole new way. It follows the life of Bran, a Welsh heir, as the Normans invade his land, killing his father and leaving him to decide what to do now. He hopes to seek justice from the king, only to be rejected. Furious, Bran decides to take justice into his own hands. This story includes everything you’ve known about Robin Hood, with John, Tuck, Will Scarlet, and Marian while making it a new, exciting story. The first book is told from Bran’s (Robin Hood) perspective, the second from Will Scarlet’s, and the third book from Friar Tuck’s perspective. Full Summary

Why I Love This Book– I love the story of Robin Hood, a man who desires to help those who are powerless. Lawhead is simply amazing in his historical details. Robin Hood comes to life and seems completely, historically probable. I love the Celtic history. I love the beautiful language mish-mashing that explains so much of how we got our modern day English. I personally adore any kind of British or Celtic history (it’s my favorite), and Lawhead is one of the authors who satisfies my love of history and my love of fantasy into one!!

Birthday Party Decorations

Standard

For sweet, darling Julia’s 1st birthday, I helped her mom create decorations for the party. All these decorations were definitely under $50!!! To create ALL of these decorations, you will need:

-Scrapbook paper book

-scissors

-ruler

-pencil

-twine

-hole bunch

-wreath

-burlap

-hot glue gun

-paper letters (cut out yourself or store-bought)

Double Sided Banner Flags:


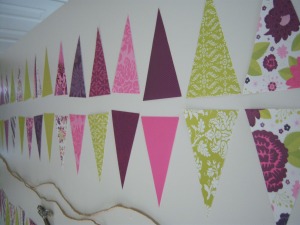
Take your scrapbook paper and cut it into triangles of desired size. We took the ruler and pencil to make our triangle lines straight. Then we cut them out.

Cut your twine to the length you need (measured to fit where you want to hang it).

We lined up the triangles in two parallel lines. Once your lines are set, you take the two triangles parallel to one another with their front sides facing out. Hole punch the top of the triangles by both corners. String onto the twine. Hang and Enjoy.


Hole punch the top of the triangles by both corners. String onto the twine. Hang and Enjoy. We hung a bunch of these in lots of places, it adds a very festive feel :)


Wreath:


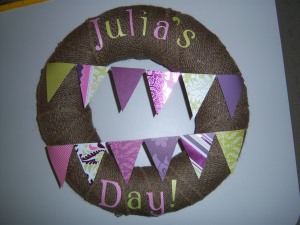
Wrap wreath in burlap, using the hot glue gun to secure. Idea: This would also look cute wrapped in twine!!

Measure and cut twine to go across. Hot glue to the back. Using pieces of the scrapbook paper from the flag banners, cut smaller triangles and hot glue to the twine. We cut out letters to say “Julia’s Day.” Audrey said she’ll use this wreath forever, putting it up in Julia’s room for her birthday for years to come :)

Cupcake Flags:


Using the same triangles you used for the wreath, hot glue the triangles to popsicle sticks. We then stuck these into the cupcakes, it was very precious.

Julia’s Day Banner:


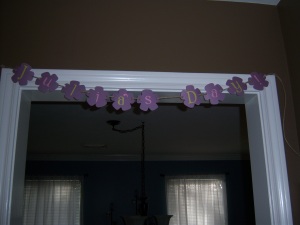
This was super easy because we used Kimb’s Cricut! We cut out the flowers and the letters using the Cricut. Using the same method of the flag banner, we strung the flowers onto twine and hung it up in the doorway.

#1 Wreath:


Begin with a circle of white paper (or color of your choice). Glue to the back of the circle, triangles of the scrapbook paper (We used the scraps from the triangles cut out for the flag banners). Add a twine around the circle and a number 1 (or whatever age you’re celebrating). Add a twine loop to the back for easy hanging!